
This DIY Pipe lamp is fairly easy to make out of black iron pipe that you can buy at Home Depot, Lowes, or online from Amazon. I buy most of the parts from Amazon because it’s cheaper to buy multiple pieces of each item. Some times I need a specific item or a fitting that I’m missing and I will run to Home Depot, Lowes, or my local Mom and Pop Hardware store.
Full Directions to build the lamp below the supply list.
Supply List


Cleaning
Before you start using the pipe and fittings they will need to be cleaned. They are very greasy, to prevent them from rusting. I use Goo Gone. I spray the pipes and wipe them down with rags until most of the grease is gone. While you are handling the pipes your hands will turn black from the grease. My dish soap does a good job of cleaning the grease off my hands when I’m done. Some of the pipes can also have small splinters. I check for these and remove them as I am cleaning. I have gotten a couple metal splinters from the pipes though.
Building
I start by putting all the pipe pieces together in the shape I want. Don’t overtighten the pieces. It’s fine if things don’t line up perfectly at first. I’ve made the mistake of over tightening a pipe too soon and I wasn’t able to take them apart afterwards. The final step is to tighten everything. So go easy in the beginning.
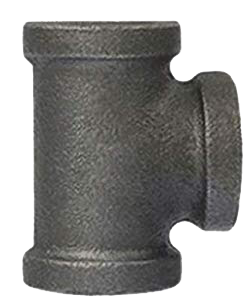
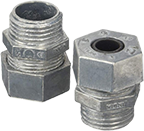
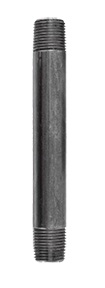
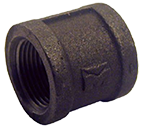
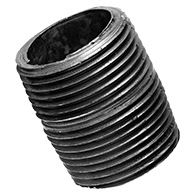
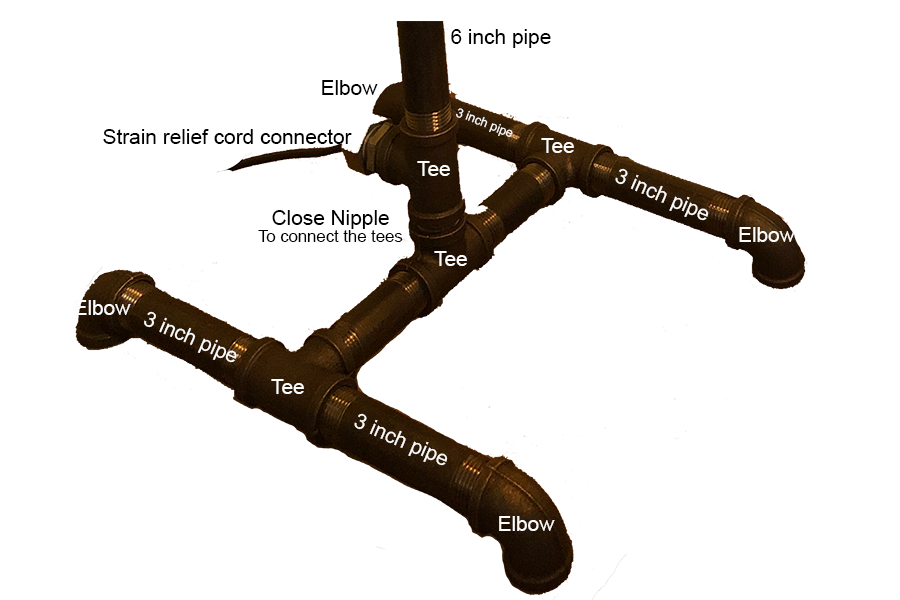
The feet of the lamp are the elbows, the 3 inch pipes, and the tee. The middle tee connects to the tee for the main section of the lamp with a close nipple. It’s just threaded pipe with no space between the threads. The strain relief cord connector fits into the back hole on the tee. This prevents the pipe edges from cutting into your lamp cord.
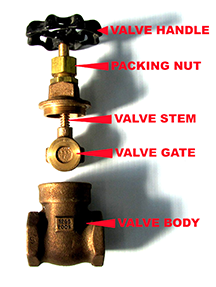
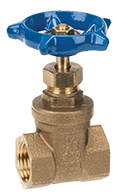
Before you use the gate valve (the faucet) you need to take it apart and remove the actual valve gate. Leaving this part in means if someone turns the faucet handle it will cut into your lamp cord. I had to use wrenches to take it apart. There are directions online on how to make the gate valve work as a dimmer switch but I just use it for decoration.
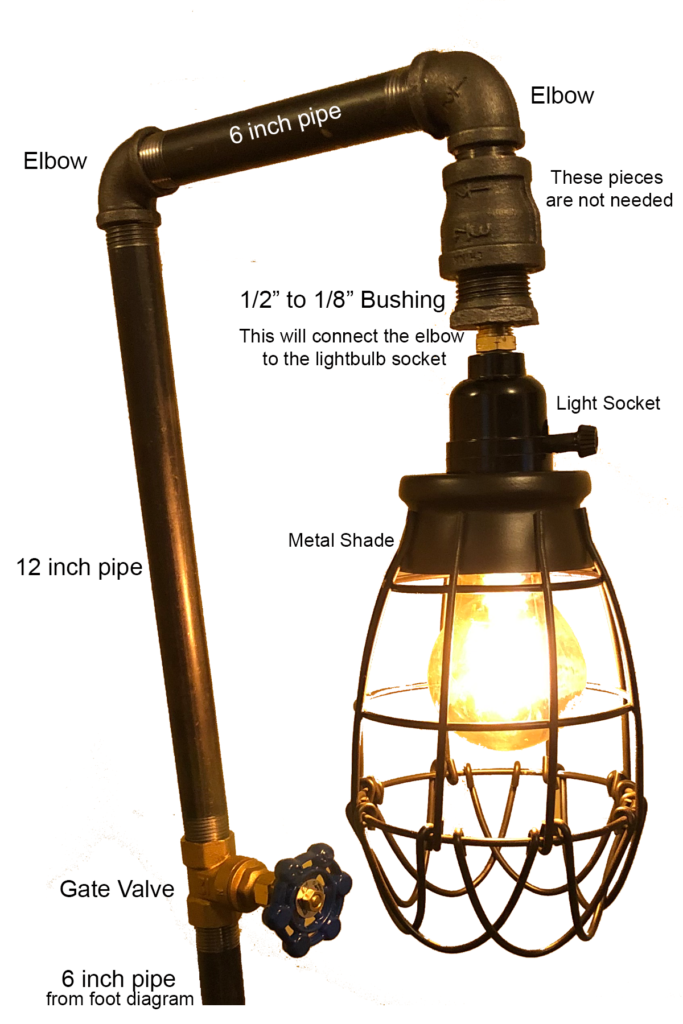
Starting from the 6 inch pipe in the prior diagram
- Connect the 6 inch pipe to the gate valve (Make sure you’ve taken apart the gate valve and removed the actual valve so it doesn’t cut into your lamp wire)
- Connect the 12 inch pipe to the gate valve (don’t worry if the valve isn’t facing the right direction. You can settle it when you tighten all the pieces)
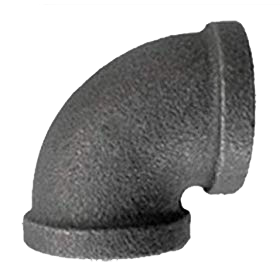
- Connect an elbow
- Connect a 6 inch pipe to the elbow
- Connect another elbow
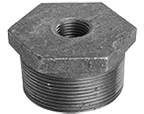
- Connect the 1/2″ to 1/8″ bushing to the elbow (this piece allows you to connect your light socket) In my image there are two pieces you don’t need. I didn’t have this bushing so I needed to play with it a bit to get it all to fit)
- The light socket will come with a 1/8″ nipple. It might be plastic or metal. Connect this to the bushing.
Wiring the socket
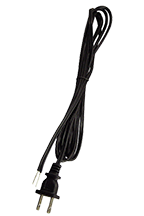
You will need to pass the cord lamp through your pipes. I put the strain relief cord connector on my wire then worked it through the pipes using a string. I took apart and put back together the pieces as I passed the cord through. The cord needs to pass through the 1/8′ nipple so you can wire it to the bulb socket.
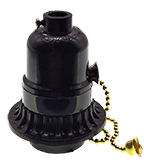
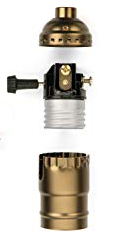
- Take apart the socket
- Take the top piece of the socket and connect it to the 1/2″ to 1/8″ bushing on your lamp
- Make sure you have enough extra wire
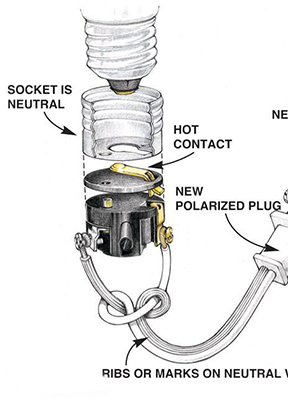
- Tie an underwriter’s knot in the wires (see image)
- The cord will have a smooth wire and a ribbed wire. I had to look closely but the ribbed wire was there. The ribbed wire is the neutral wire. This connects to the silver screw on the socket. Create a little hook in the wire and hook it over the screw. Tighten the screw clockwise. This helps to pull in the wire
- The smooth wire connects to the hot terminal. This should be a bronze screw. Create a small hook, hook it over the screw and tighten it.
- Put the cover back over the socket and attach the socket back to the top piece. You might need to pull some wire back at this point so it fits. Pull gently
- This is when I go through and make all my joints tight. Remember, after you tighten them they can be very difficult to loosen!
- After you have the socket back together you can screw the strain relief cord connector into the tee at the bottom of the lamp.
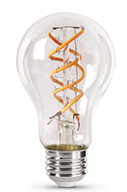
- Put in a light bulb, plug it in, and turn it on!*
*I am not an electrician. Always consult an electrician when doing any wiring.
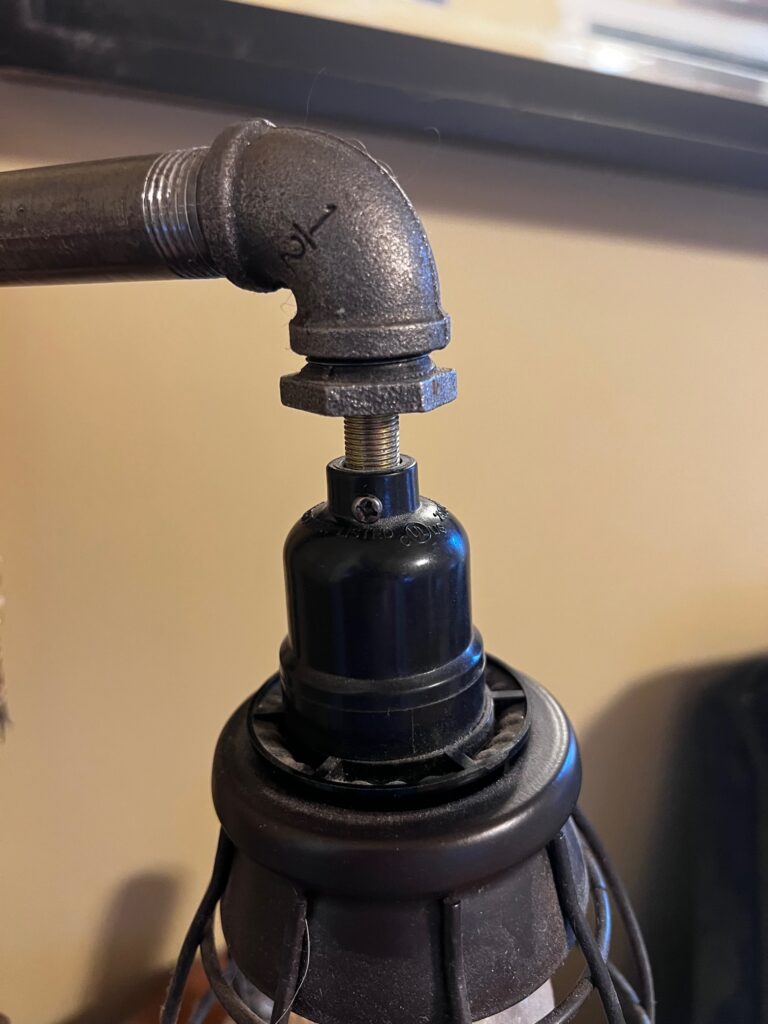
Here is an updated version of the connection from the 1/2 inch pipe to the lamp socket.
It’s just a matter of converting the 1/2 inch opening of the elbow to the 1/8″ opening of the lamp socket.
The top is a 1/2 inch elbow
1/2″ to 1/8″ bushing
1/8″ brass close nipple
Light socket
